


How to clean your washer and dryer, according to experts
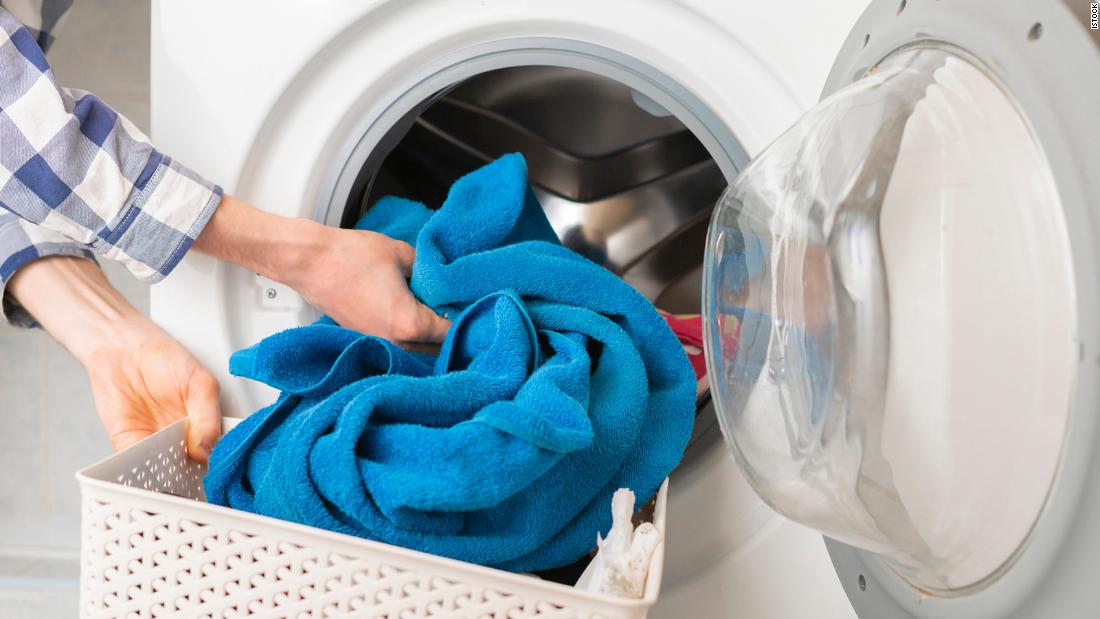
It can be easy to overlook cleaning the things we use to clean other things, but major appliances like washing machines and dryers do need to be cleaned and properly maintained to optimize performance and to ensure the safety of your household.
Cleaning a washer will prevent the buildup of laundry products and soil that can leave clothes dingy, even right out of the wash and prevent odors from taking root in the machine — and in your laundry. Dryers need routine maintenance to keep them running smoothly and safely; according to FEMA, 2,900 home dryer fires are reported each year, most of them caused by a failure to clean the machine.
We spoke to experts about how, and how often, to clean top loading washers, front loading washers, electric and gas dryers, including how to clean a dryer’s vent to keep your machine running safely.
Lindsay Jones, a brand manager at Maytag, provided step-by-step instructions for cleaning a top loading washing machine. She recommends cleaning a washing machine regularly, “Staying on top of cleaning your washer means you don’t give residues a chance to take up residence in your machine.”
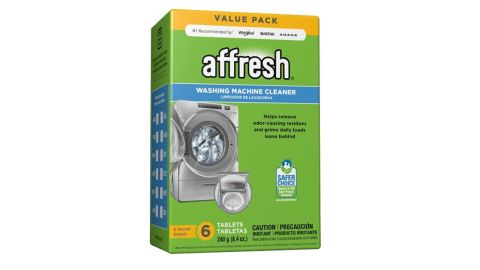
Start by cleaning the tub, using a washing machine cleaner like Affresh, or with 1 quart liquid chlorine bleach. Run the washer’s cleaning cycle, followed by a rinse and spin cycle to remove residue from the cleaner. Leave the washer door open to let the tub dry.
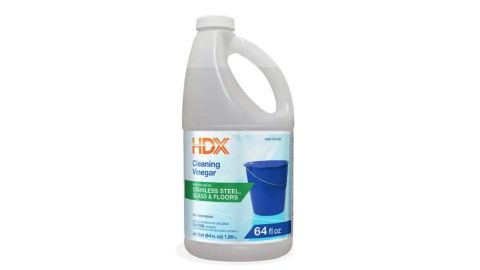
Important note: If using bleach, do not also use products containing ammonia or vinegar, as they cause a dangerous chemical reaction when mixed with chlorine bleach.

Pull out the dispenser drawer(s) until you feel resistance or, if they are removable, take them out of the unit. Wipe them clean with a damp cloth, and use a toothbrush to scrub any stubborn buildup. Removable parts may also be soaked in warm water to loosen and remove residue; wipe well after soaking.
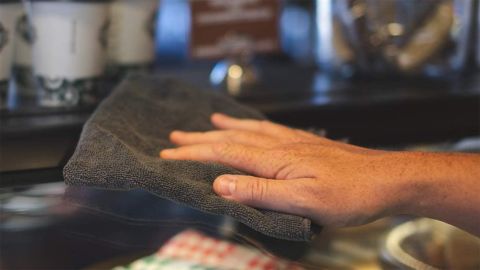
Open the lid and clean in and around the door using a damp cloth. Use a damp cloth or sponge to wipe the exterior of the machine clean. Avoid the use of abrasive or harsh cleaners when cleaning outside surfaces as they can cause scratching and other damage.
Top loading washers with an agitator will need a deeper cleaning, “To fully deep clean a washing machine, you’ll need to clean the filter and the agitator,” Gina Perry, senior merchant of cleaning at The Home Depot, says. “This procedure varies from one machine to the next.”
Consult the machine’s owner’s manual for specific instructions on how to remove the washing machine agitator and filter, and unplug the machine before removing any parts. Typically, Perry says, these are the steps for removing and cleaning a washing machine filter.
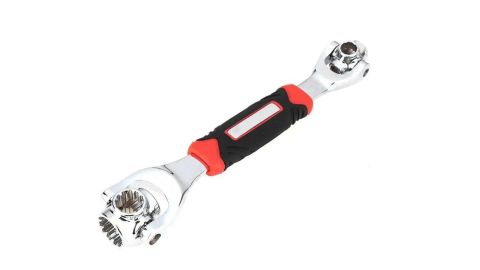
Use a socket wrench to remove the bolt holding the agitator; from its base, lift the agitator out of the machine.
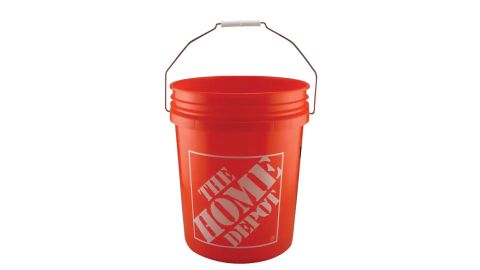
Place the agitator and filter into a bucket, utility sink or bathtub filled with hot, soapy water or in a cleaning solution made from 2 cups of vinegar, ¼ cup baking soda and ¼ cup water.
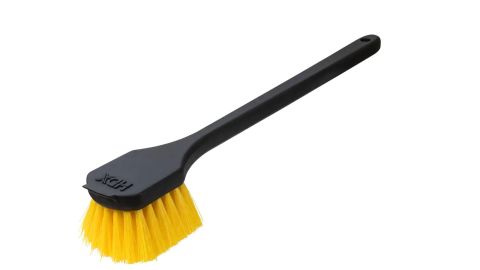
Use a soft bristle scrub brush to scrub down the parts. Rinse thoroughly, then dry them with a microfiber cloth. Replace the filter and agitator in the washing machine.
“Due to their setup,” Perry says of front loading washing machines, “they tend to be more prone to bad smells than top load washers.” Perry provided step-by-step instructions for cleaning a front loading washing machine to flush out unwanted mold and mildew growth and odors.
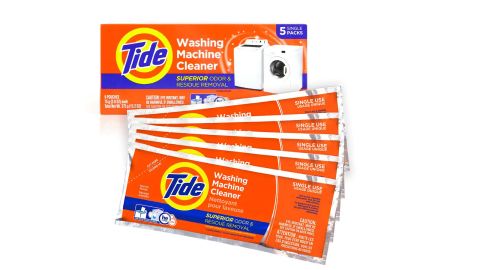
Start by cleaning the tub, using an HE washing machine cleaner like Tide Washing Machine Cleaner on a normal cycle with the hot water setting.
Once the cleaner load finishes, scrub the door gasket with an old toothbrush to remove buildup and debris, then use a cloth to wipe it clean with vinegar. Pull out the dispenser drawer(s) until you feel resistance or, if they are removable, take them out of the unit. Wipe them clean with a damp cloth, and use a toothbrush to scrub any stubborn buildup.
Wipe the inside of the tub and the door with a microfiber cloth. Use a damp cloth or sponge to wipe the exterior of the machine clean. Avoid the use of abrasive or harsh cleaners when cleaning outside surfaces as they can cause scratching and other damage. Return detergent trays and parts to the machine and prop the door open to allow everything to dry thoroughly.
The frequency with which to clean a washing machine depends on a few factors, including the size of your household and what the machine is used for. Households with many members, or that use the washing machine to launder cloth diapers, outdoor work clothes or other heavily soiled textiles, will need to clean a washer more often.
“If you start to notice foul odors or leftover detergent/film in your washing machine, it’s probably time to give your appliance a deep clean,” Perry says.
The sniff test is a good way to determine if your machine is due for cleaning, but establishing a regular cleaning schedule can also be helpful. “Ideally you should be cleaning your washing machine monthly,” Jones says, which is a good rule for large households or machines that are used for heavy duty washing. For smaller households that launder less frequently, Jones says to clean the machine every 30 wash cycles.
If you frequently launder heavily soiled items, Gary Childers, a fabric care scientist and appliance expert at Procter & Gamble, recommends making use of the washer’s extra rinse cycle to help extend time between cleanings. “Households with above average soiled laundry may experience odors in the machine that others do not,” he says. “Extra rinse options on the machine may help reduce the rate at which these odor causing residues form inside the washer.”
When it comes to cleaning a dryer, there are things you should do regularly to keep the machine running smoothly and safely, and deeper cleaning and maintenance to perform every 12-24 months.
According to Childers, routine maintenance includes:
- Removing lint from the lint screen before or after every drying cycle.
- Cleaning the lint screen with warm, soapy water every 6 months; larger households should clean the lint screen more frequently.
- Removing spots inside the machine or on the door using a warm, wet cloth.
- Having a professional appliance repair technician check the dryer interior and ductwork of the machine every 12-24 months, depending on use and manufacturer recommendation.
Cleaning a dryer duct can be done without calling in a professional. “Cleaning a dryer duct isn’t difficult,” Perry says. “Remove lint from the duct by hand and then vacuum the inside of the duct.” She offered these step-by-step instructions for cleaning a dryer vent.

Unplug the dryer (for gas dryers, turn the gas supply valve off), pull the dryer away from the wall and disconnect the dryer duct.
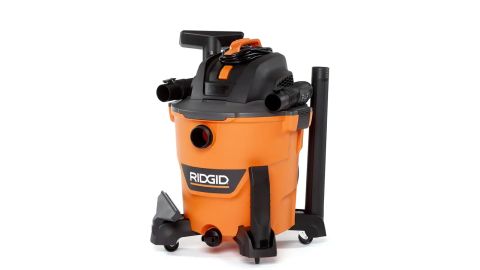
Ridgid 12 Gallon Wet/Dry Shop Vacuum With Filter, Hose and Accessories
While wearing safety gloves, remove lint from the hole at the back of the dryer with your hands. Then, use the hose attachment of a vacuum cleaner or a shop vac to clean in and around the hole at the back of the dryer; if you can detach the length of duct where it meets the wall, do so for ease of access. Go outside the house and remove the exterior vent cover and clean out the dryer vent from the outside using a vacuum.
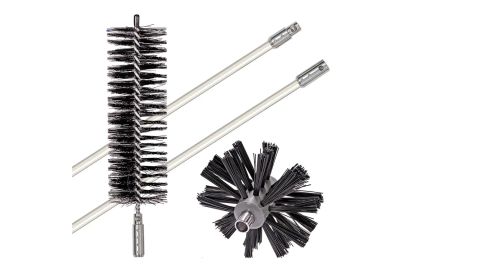
If the dryer vent is too long to efficiently use a vacuum to remove the lint, buy a dryer vent kit that contains flexible brushes that clean the vent’s interior walls. Feed the brush into the duct and move it back and forth while slightly rotating it until the vents are free of dust and lint.
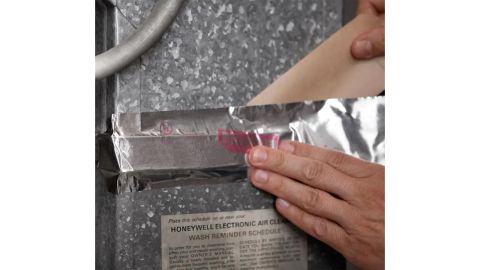
Reattach ductwork and vent cover, sealing sections of ductwork with UL-listed metal foil duct tape if necessary. This is a good time to inspect the ducts to make sure that they are undamaged and up to safety codes, and replace them if needed. Push the dryer back into place, plug it in or turn the gas valve back on, and run a 15 to 20 minutes test cycle using the fluff or air-dry setting to make sure all the connections are strong, and to dislodge any remaining debris.
Source: https://www.cnn.com/2022/04/11/cnn-underscored/how-to-clean-washing-machine-dryer/index.html?iid=CNNUnderscoredHPcontainer

