


How does Surfshark work? How to set up & use the VPN

(Image: Surfshark)
The acronym VPN stands for virtual private network. Those three words tell a lot about how a VPN works.
Let’s start with network. VPNs provide network connections, meaning they move data to and from your device. Private means they make that movement private, helping prevent hackers from seeing what you’re sending. And virtual means that you’re doing it all in software. You’re not running a new set of wires. Instead, you’re creating a software-based network connection that then moves data over the physical connection (whether that’s wireless or wired).
What a VPN actually does is take data that you’re sending out over the Internet and encrypt it before it leaves your machine. That encrypted data is sent to the VPN provider’s servers, where it’s decrypted, and then sent on to, say, Google or Netflix. Surfshark, which is the service we’re talking about now, has more than 3,200 servers across the world.
On the flip side, a VPN takes data from a server on the internet, then encrypts it on one of Surfshark’s servers, and sends that encrypted data to your computer, which decrypts it when it arrives.
Must read:
- Surfshark VPN review: It’s cheap, but is it good?
- ExpressVPN vs. Surfshark vs. NordVPN: Which is best?
- NordVPN vs. Surfshark: Which VPN is best for you?
This is what provides protection against, in particular, Wi-Fi snoops at airports, hotels, and schools. By virtue of your data leaving the VPN provider’s server (which, for Surfshark, can be in your choice of 65 countries), your actual location can be hidden, and the final server sees as your location what’s actually the location of your provider’s server.
That’s how VPNs obfuscate your location. Although it’s sometimes illegal, many people use this capability to change their apparent region to watch blacked-out sports or region-locked TV. Far more important is that activists and those concerned about stalkers use it to hide their location for their personal security.
OK, so with that introduction into how VPNs, and specifically Surfshark works, let’s look at how to set up and install Surfshark. We’re going to do this on a Windows machine, but the practice is very similar for Macs, Linux, and mobile devices.
Surfshark at a glance
- Servers: 3200
- Countries: 65
- Simultaneous connections: unlimited
- Kill switch: yes
- Logging: no
- Best Price: $59.76 for 24 months ($2.49 per month)
- Trial: 30-day refund guarantee
- Supported platforms: iOS, Android, MacOS, Windows, Linux, FireTV
Installing Surfshark
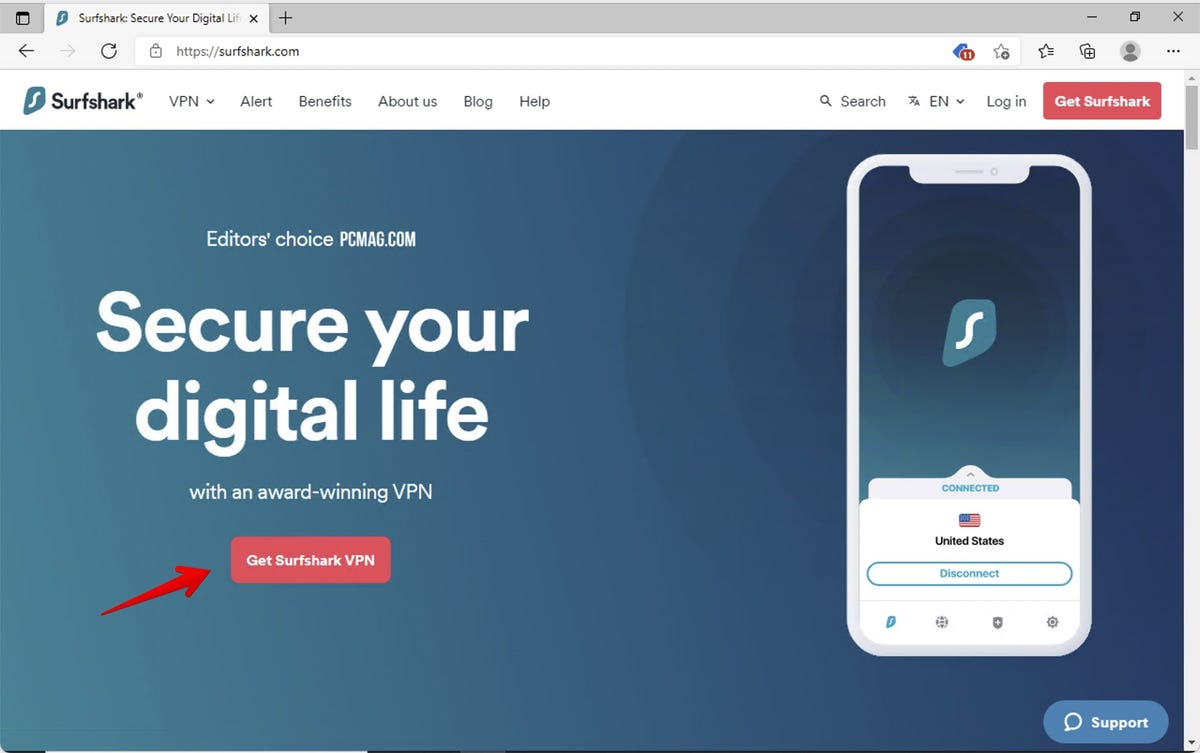
Let’s get started. Point your browser to Surfshark’s website and click the Get Surfshark button.
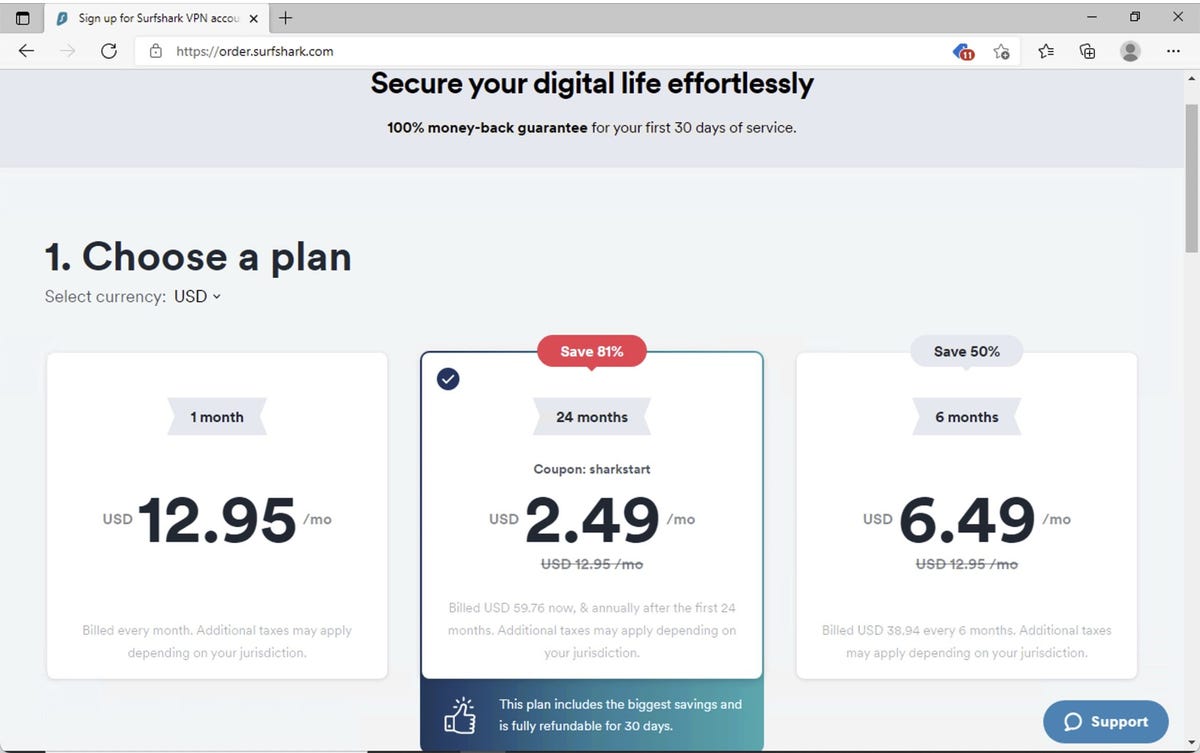
Next, go ahead and choose a plan. If you’re planning on using Surfshark for more than five or six months, you might as well go ahead and sign up for the two-year plan, since it’ll be about the same price as going month-to-month. Remember, there is a 30-day money-back guarantee. We strongly recommend you test everything you think you might want Surfshark to do in that time, to decide if this is really for you.
Surfshark does have an upsell, for antivirus and account monitoring. It’s up to you whether you want to sign up for it. We’re only covering the VPN-related features in this tutorial.
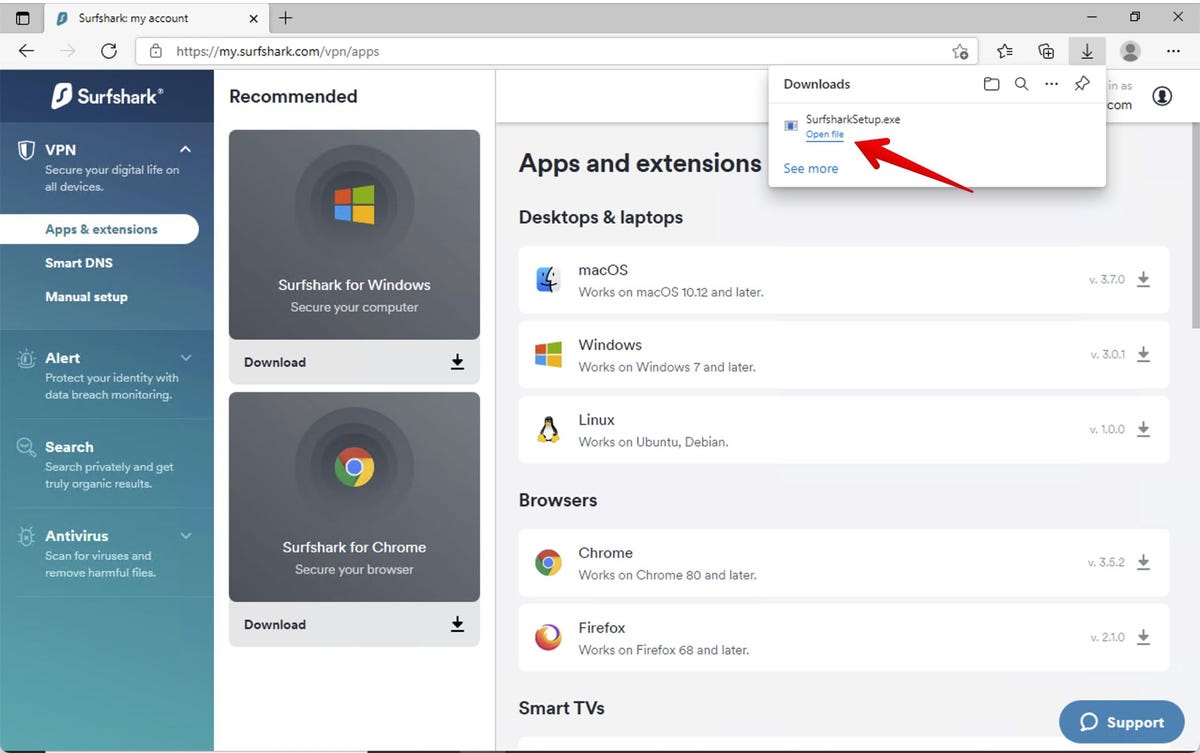
Once you’ve completed the sign-up process, go back to the Surfshark.com home page and log in. Once you do, you’ll be on the main account page. We’re installing Surfshark for Windows, so we’ll click the Windows download button.

Once it downloads, hit Open File.
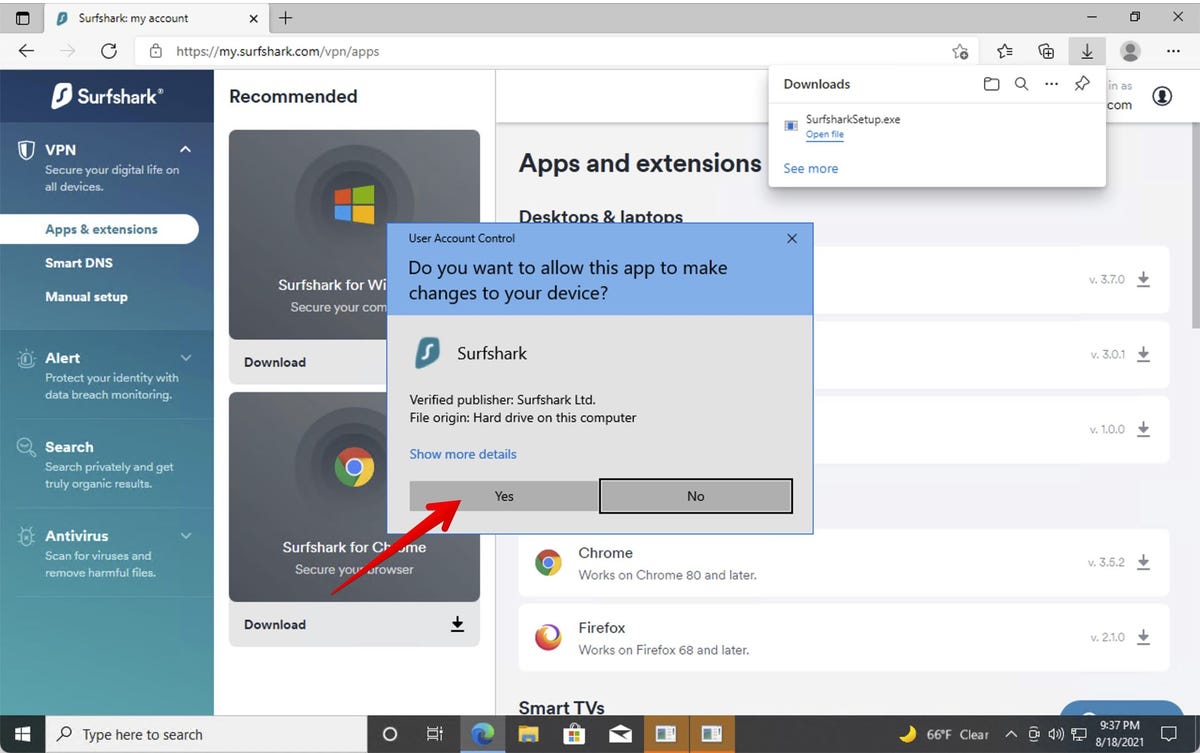
Let Windows know you did that on purpose.
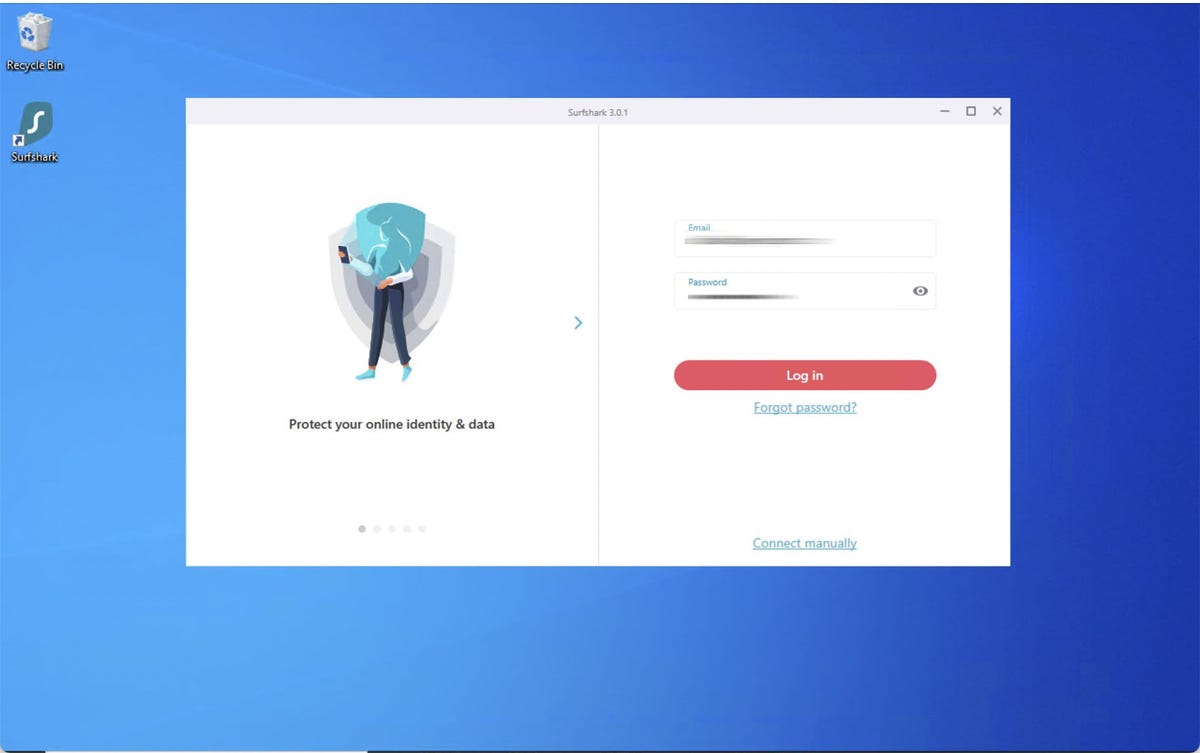
Starting Surfshark
And there we go. Next, log into the program using the same credentials you used to sign up for your account.
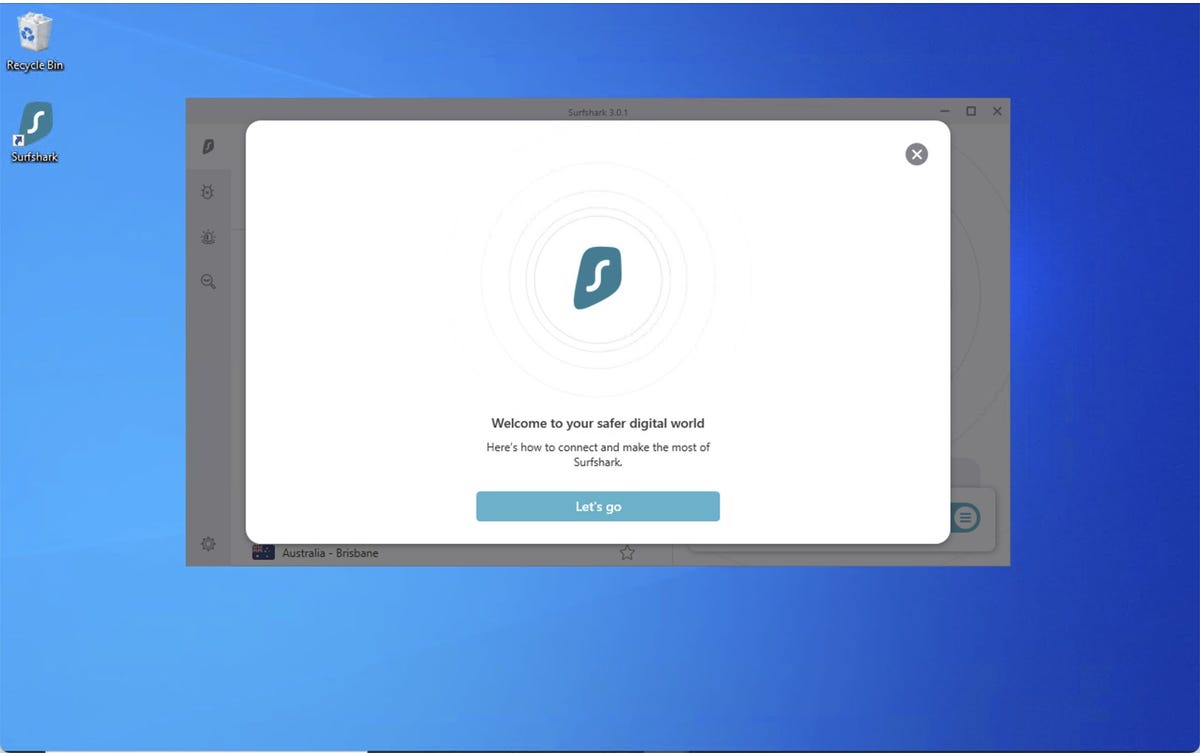
You’ll get a nice welcome message to start.
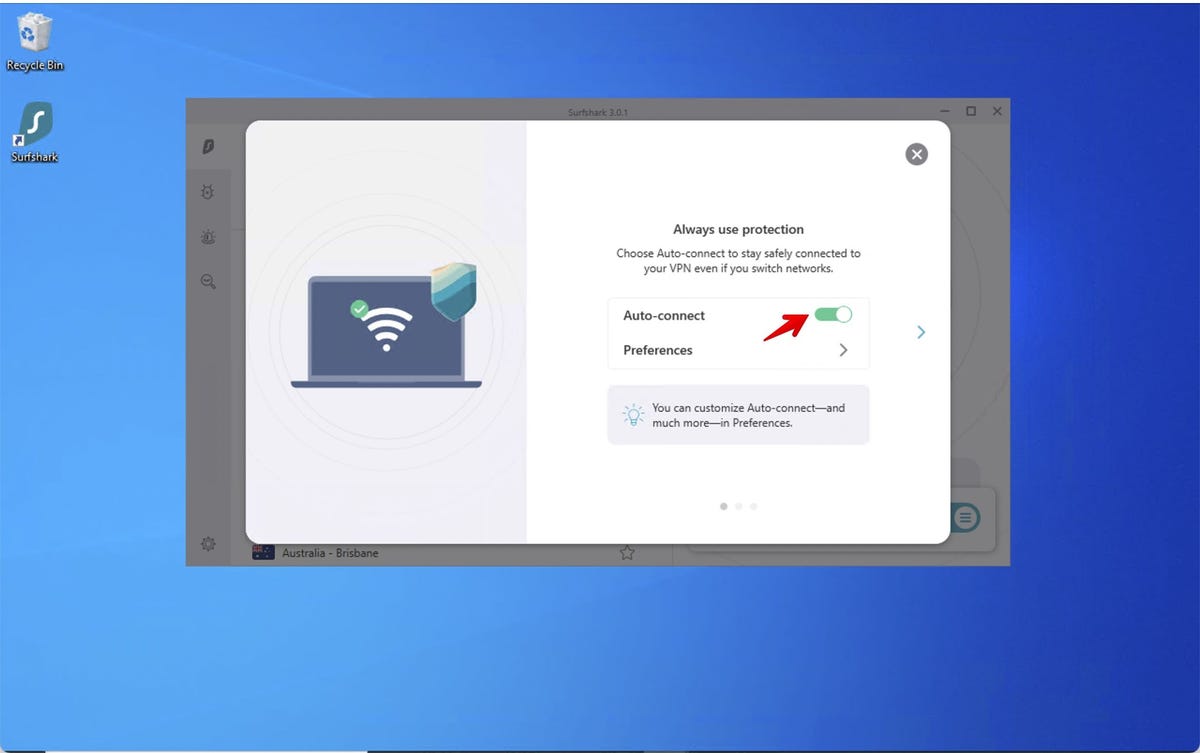
Before you see the main interface, you’ll be given a number of configuration options. The main decision you should make now is whether you want your Internet connection to run through Surfshark as soon as you boot up or not. If you always want the connection over a VPN, turn this on now.
Using Surfshark
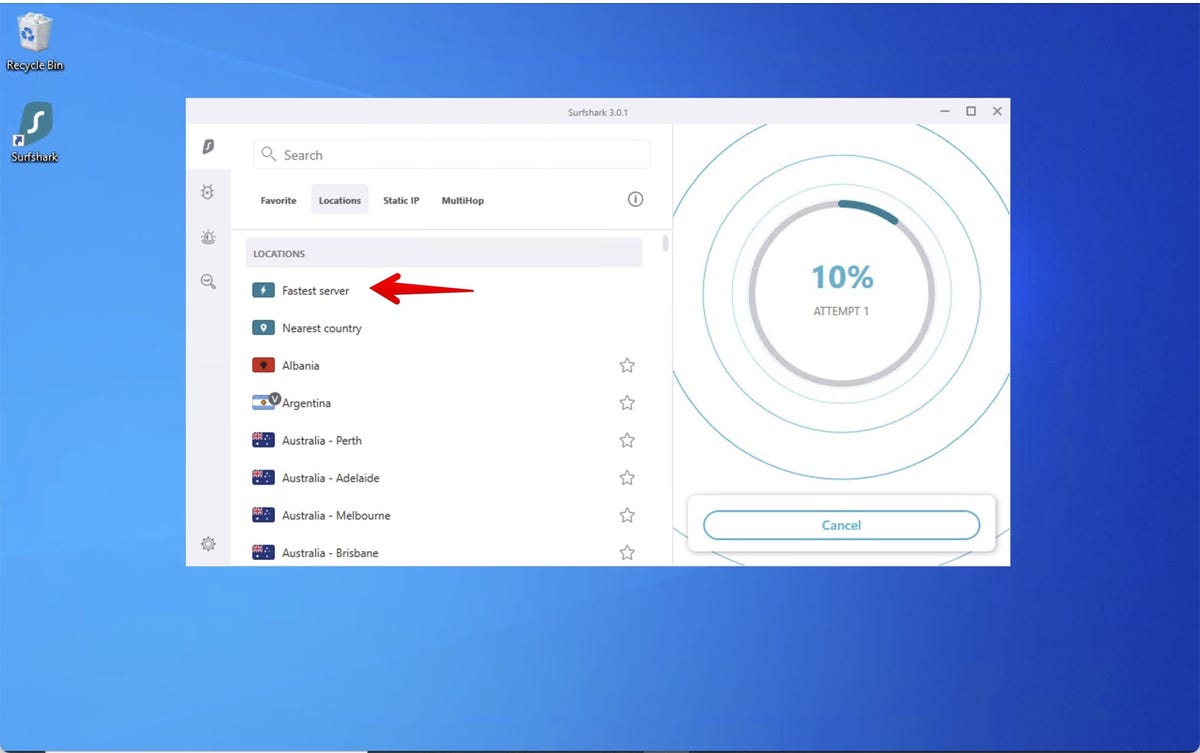
And with that, you’re ready to use Surfshark. Here’s the main screen.

Unless you’re trying to spoof your location or surf as if you’re in another country, your best results will be found by clicking on Fastest Server. That will start the connection.
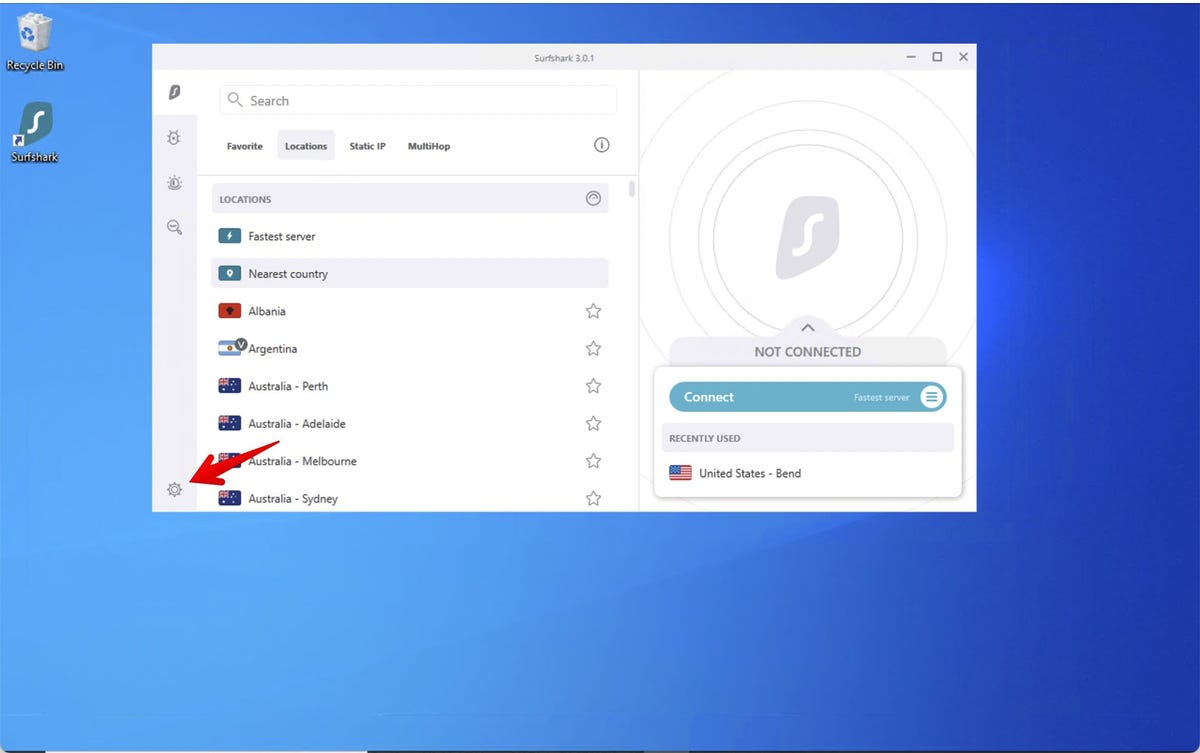
My fastest connection was in Bend, Oregon. Since I live in Oregon, that makes sense. There’s a pie shop in Bend that makes the best grilled cheese sandwich I’ve ever had. Unfortunately, Bend is a few hours from here by car, so I’ve only had that sandwich once. But a boy can dream, can’t he?

So, that’s it for the basic operation of Surfshark. To end a connection, just click the Disconnect button as shown above. Next, let’s look at a few settings.
Must read:
- Best VPN: Top VPN services reviewed
- Fastest VPN: Top services tested and compared
Checking Surfshark’s settings
You can access the Settings menu in the lower-left corner. The other icons on the left dashboard panel are for the antimalware and identity scan upgrades Surfshark offers. For now, let’s tap the gear icon.
Here you can get to your account and plan information.
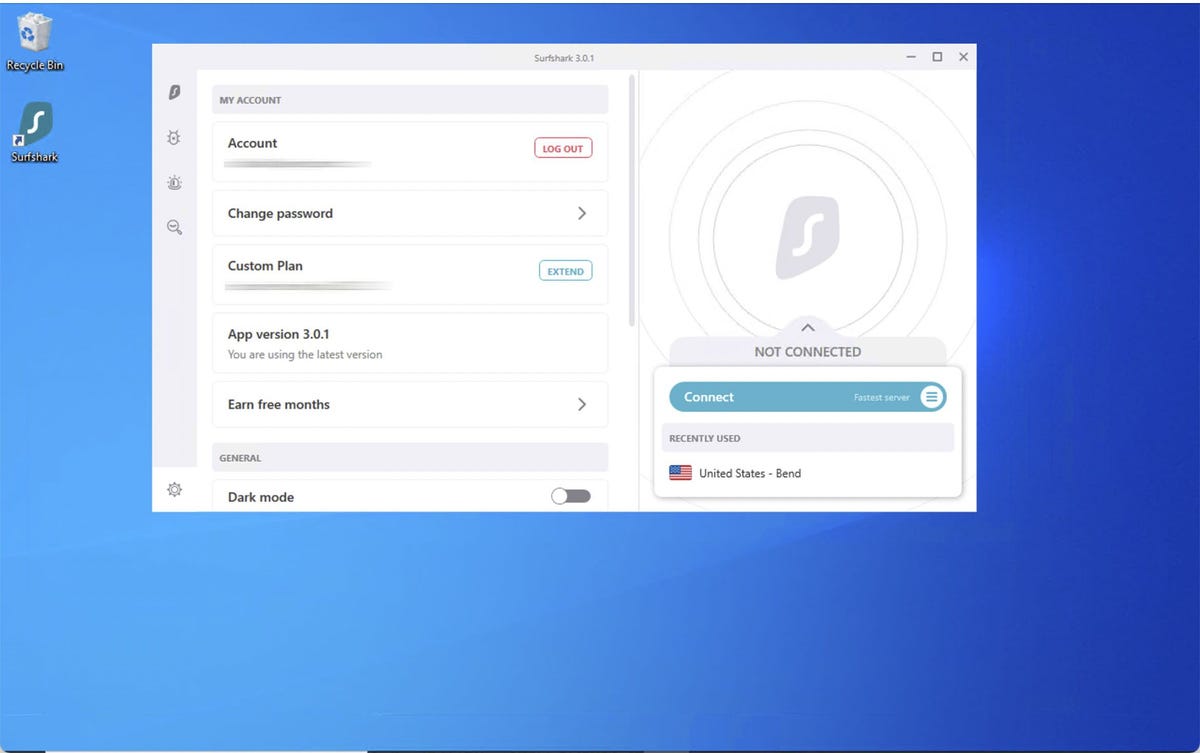
Let’s scroll down because that’s where the good settings live. As you can see, you can change the language used, and turn on dark mode. But what we’re focusing on is the Connectivity and Advanced menus.

It’s the Connectivity Settings pane where you should pay the most attention. As you can see, you can decide to launch Surfshark on login and, once again, here’s the button that lets you decide whether to auto-connect when you log in. Further down, though, is the most important option, the Killswitch option. This is critical because if you’re connected and counting on VPN security and that VPN connection drops, you don’t want your computer to send data in the clear. Make sure to turn on Killswitch when you need to stay secure. It’s critical.

Next, let’s look at the Advanced pane. The NoBorders option normally comes on when necessary. It basically spoofs international connections when you’re surfing. Here’s more detail on that feature, should you need it. At the very bottom of the Advanced pane, you’ll see speed test. We’re going to look at that next.
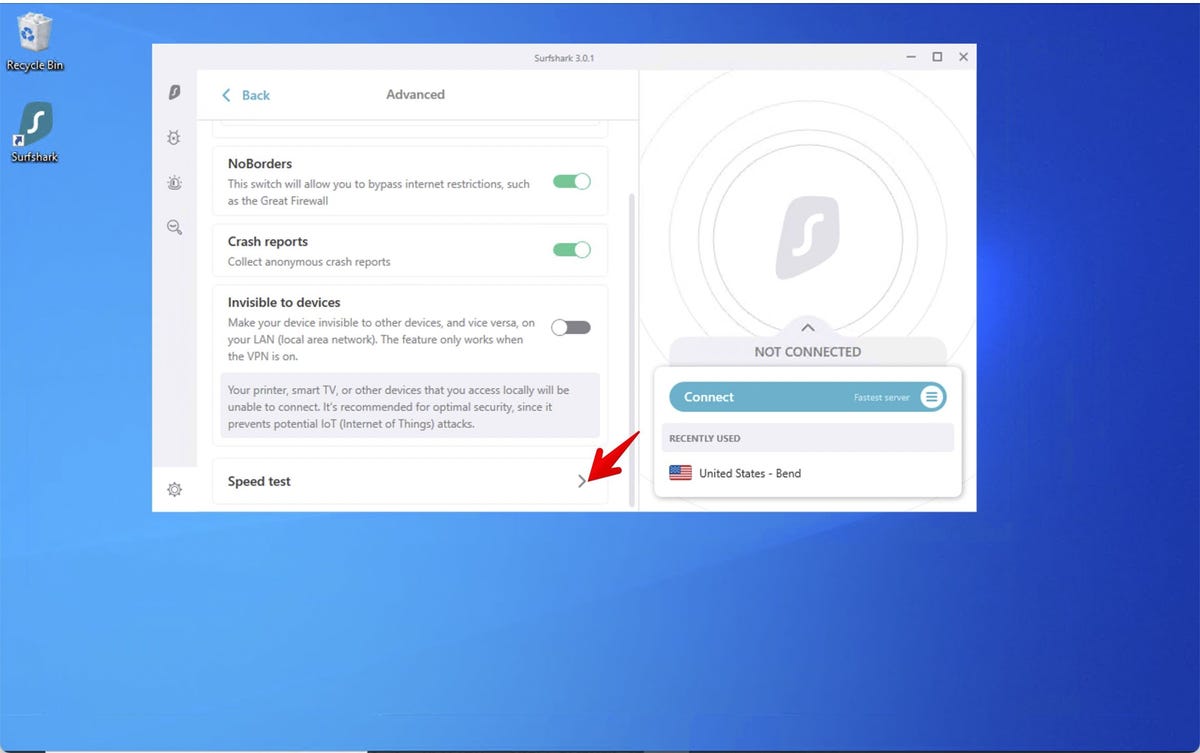
Speed test lets you run connection tests for various regions.
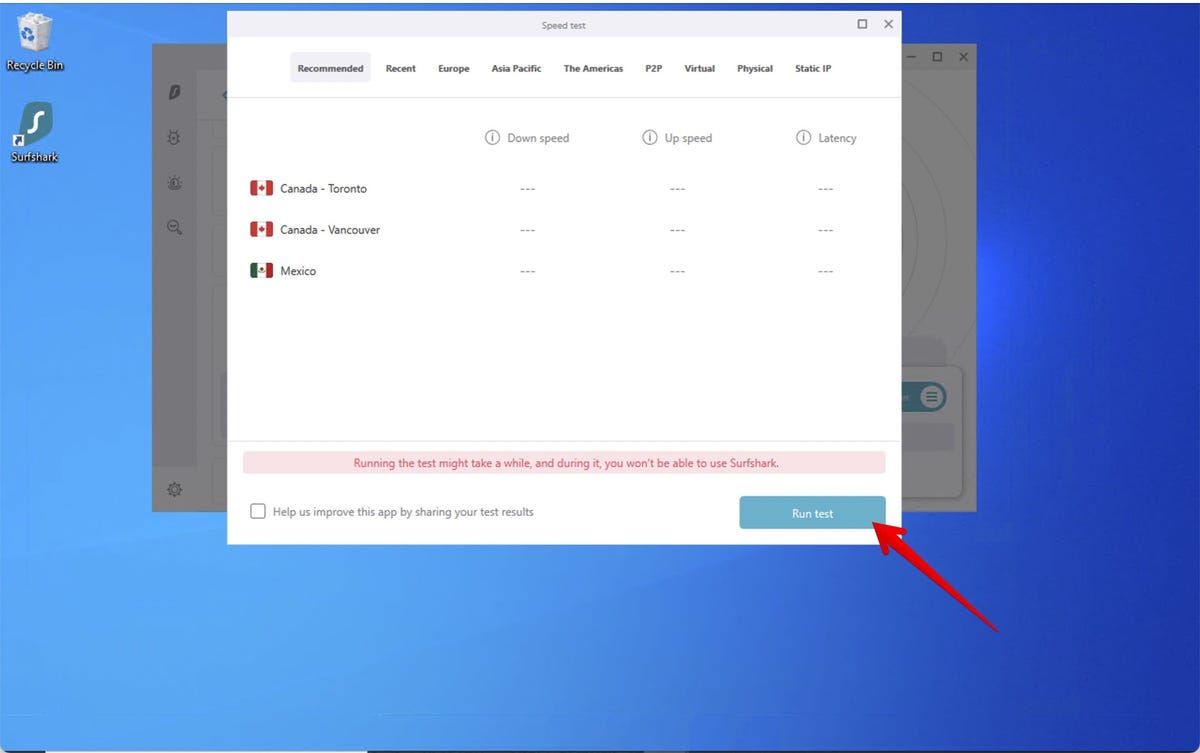
Here, I went ahead and clicked Run Test and the feature is gathering data on servers in Europe.

So, there you go. That’s how to use Surfshark. Let us know what you think in the comments below.
You can follow my day-to-day project updates on social media. Be sure to follow me on Twitter at @DavidGewirtz, on Facebook at Facebook.com/DavidGewirtz, on Instagram at Instagram.com/DavidGewirtz, and on YouTube at YouTube.com/DavidGewirtzTV.
Source: https://www.zdnet.com/article/how-does-surfshark-work-plus-how-to-set-it-up-and-use-it-tutorial/#ftag=RSSbaffb68


